
Power Engineering / Street Lighting
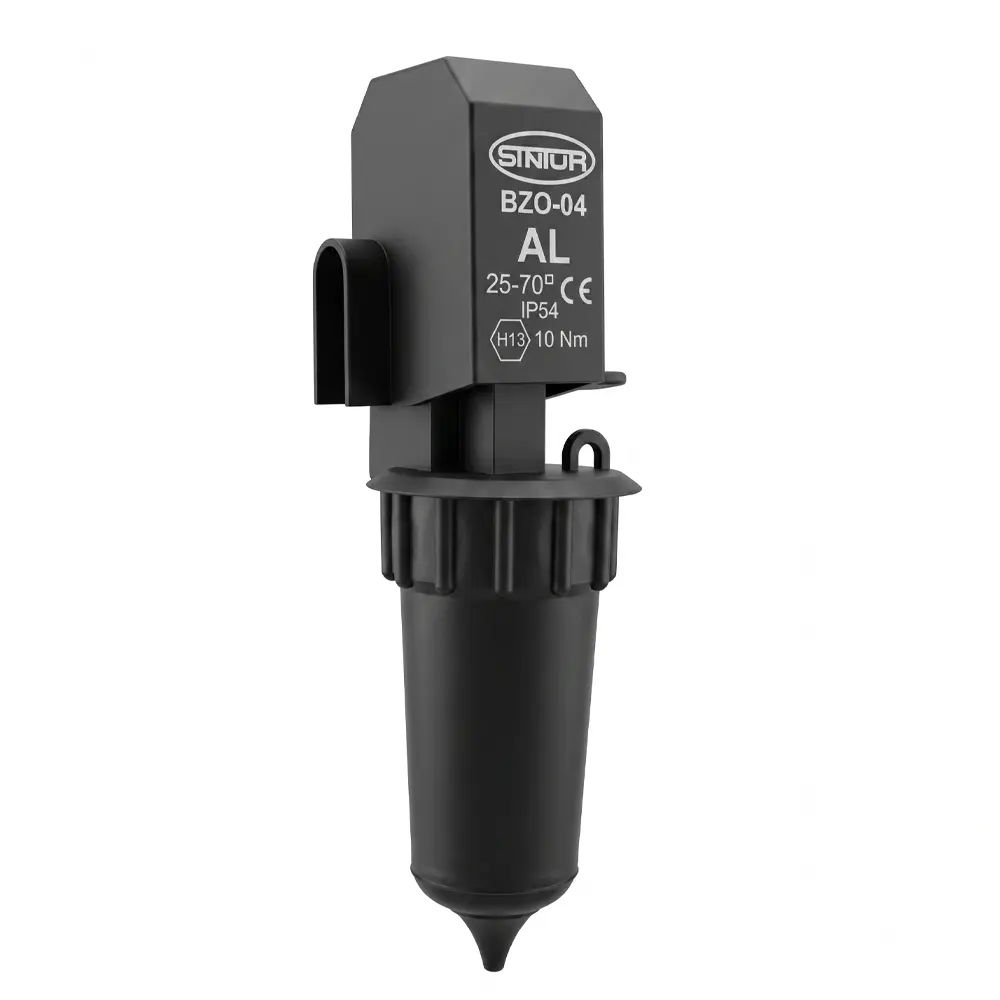
BZO-04 Fuse Connector
High-class connector designed for powering lighting fixtures from overhead lines with bare conductors (AL). The design ensures full installation safety under voltage thanks to the insulation of the tightening bolt.
- Application: Bare AL Lines
- Line Cross-Section: 25 - 70 mm²
- Torque: 10 Nm (shear)
- Protection: IP 54
Why Choose BZO-04?
Zero Bolt Potential
The tightening bolt of the main contact is completely insulated from the conductive elements, allowing safe Live Working (LLW).
Assembly Stability
The well-thought-out design prevents the connector from falling apart after loosening. This is a crucial facilitation for linemen working at height.
Guaranteed Tightening Torque
The use of a shear head (10 Nm) eliminates installation errors and guarantees a perfect connection without using a torque wrench.
Technical Data
| Parameter | Value |
|---|---|
| Application (line type) | Bare AL conductors |
| Line conductor cross-section | 25 - 70 mm² |
| Branch conductor cross-section | 2.5 - 4 mm² |
| Tightening torque (Shear head) | 10 Nm |
| Max. current of fuse-link | 16 A |
| Fuse-link type | D II |
| Degree of protection | IP 54 |
| Materials | Polyamide + glass fiber / Polypropylene |
| Compliance with standards | PN-EN 50483-4:2009 |
Connector Design
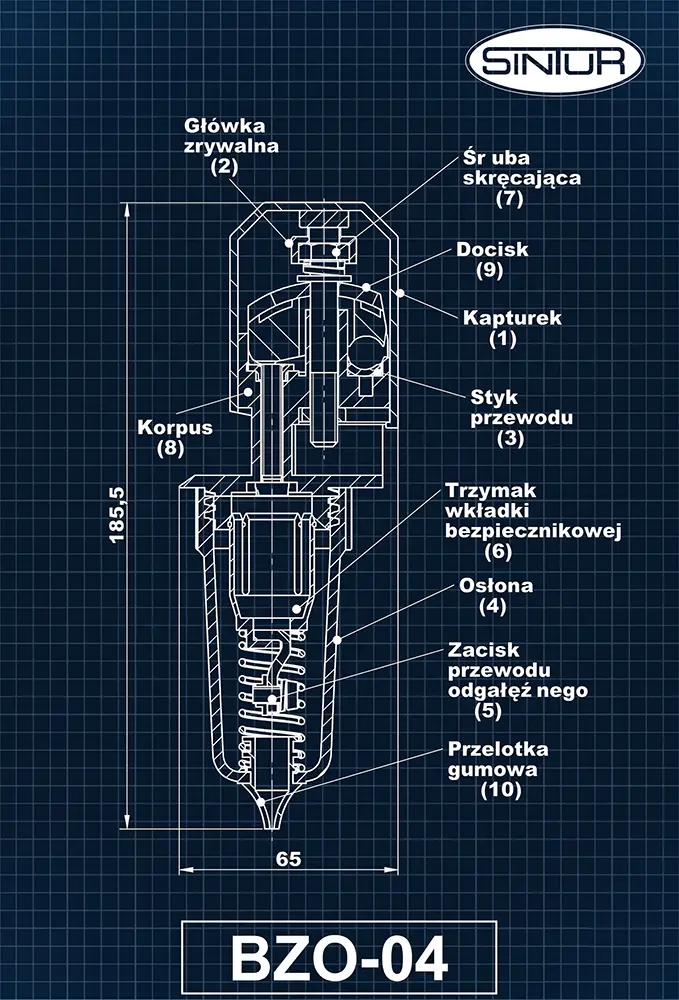
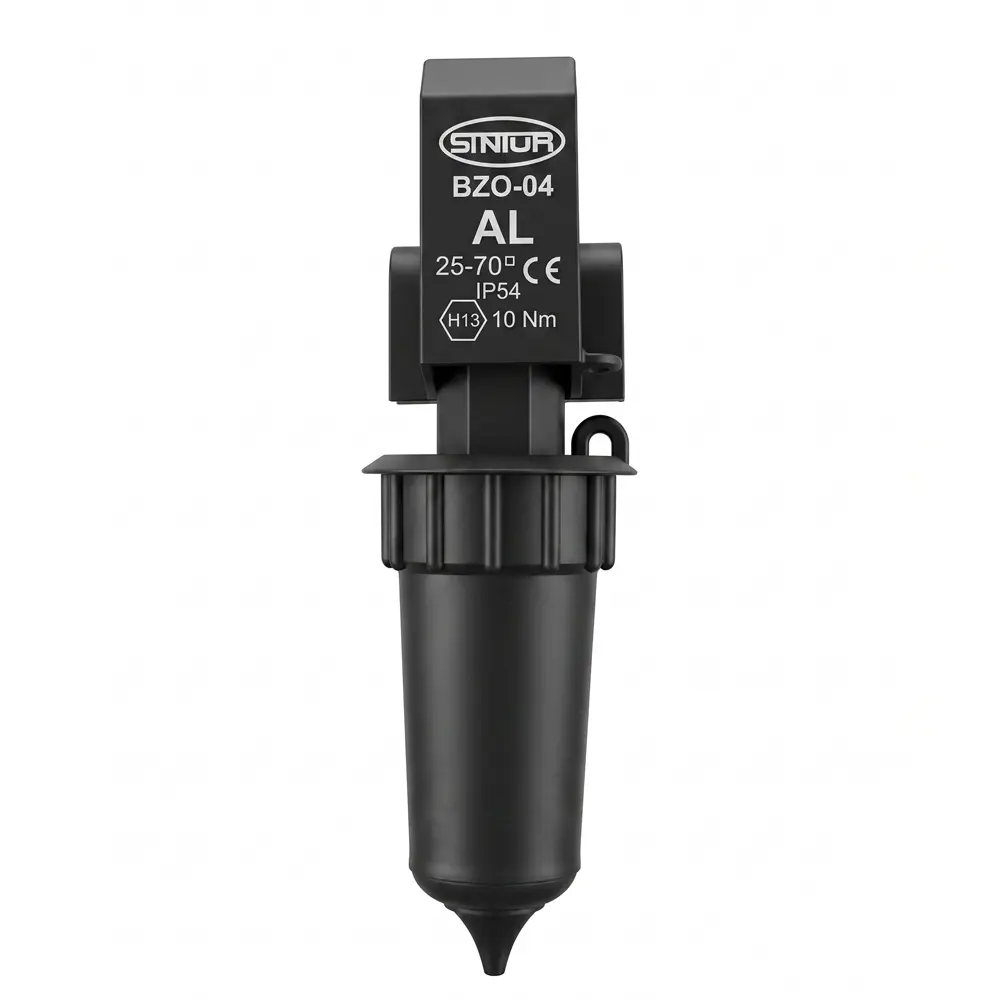
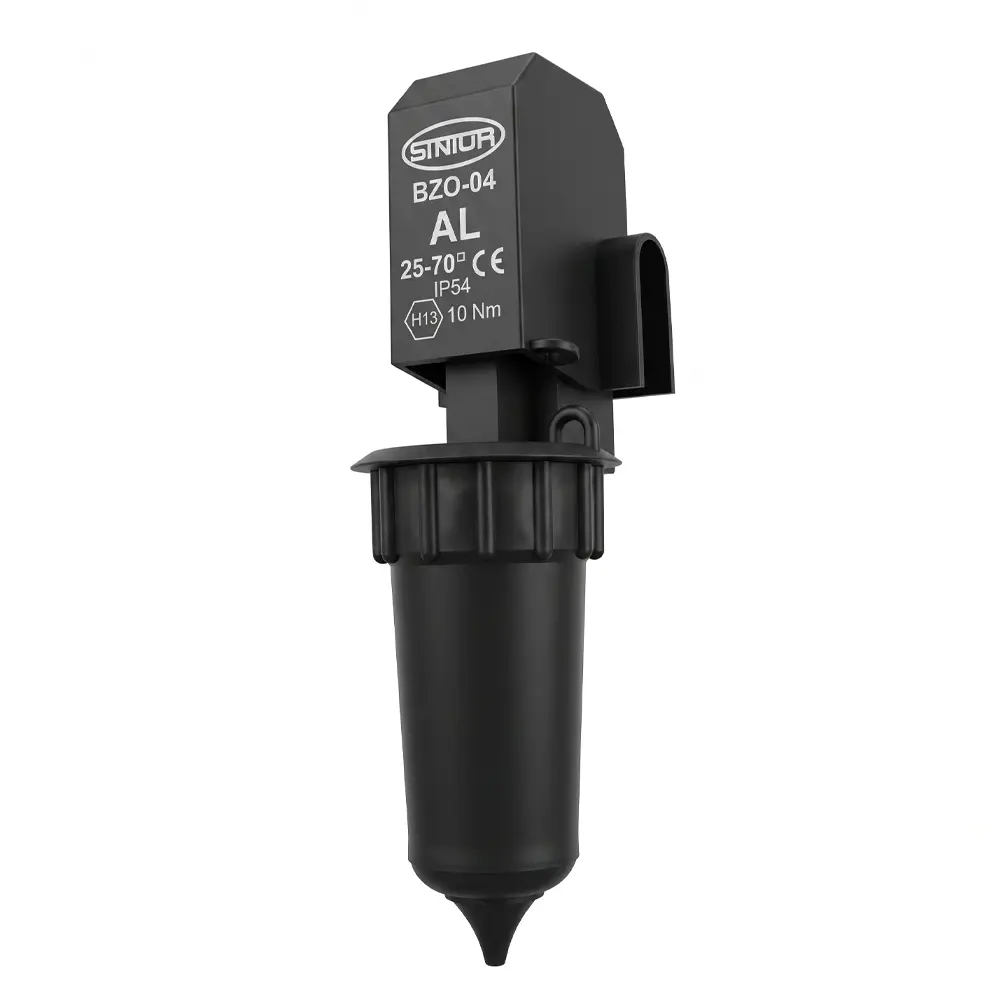
Structural Elements:
- Protective cap
- Shear head
- Main conductor contact
- Insulating cover
- Branch conductor clamp
- Fuse-link holder
- Tightening bolt (insulated)
- Body (glass-fiber reinforced polyamide)
- Pressure block
- Rubber grommet
Assembly Instructions
- Unscrew the cover (4).
- Insert the branch conductor through the grommet (10) and connect it to the clamp (5).
- Screw on the cover (4).
- Remove the protective cap (1).
- Unscrew the bolt (7) so as to allow the contact (3) to be placed freely onto the bare line conductor.
- Holding the cover (4), place the connector onto the conductor and tighten the bolt (7) until the head shears off (2).
- Replace the protective cap (1).
- Insert the fuse-link into the holder (6) and tighten the cover.
Note: Installation should be carried out by personnel with appropriate authorizations for live working.